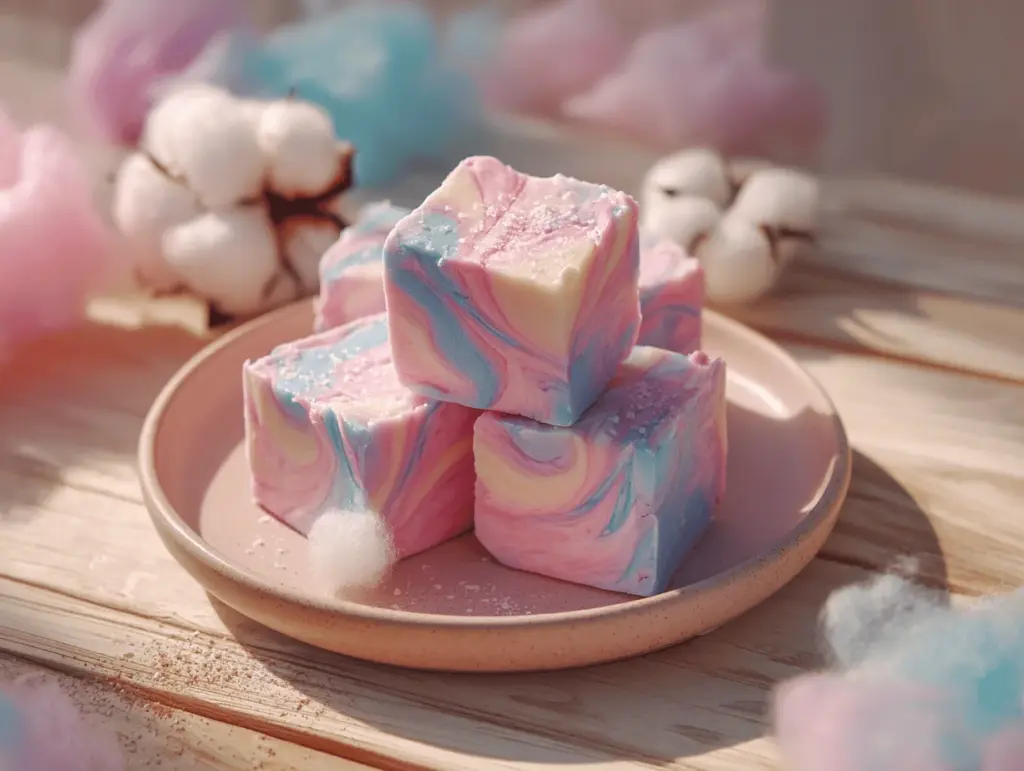
The first time I made cotton candy fudge, my kitchen smelled like a carnival—sweet, slightly fruity, and a little mischievous. You know that feeling when you bite into something and memories just rush in? That’s exactly what happens with this whimsical pastel treat. I’d been craving something playful, something that would make my kids’ eyes light up and honestly, make me smile too (because, let’s face it, some days you need extra cheer).
Cotton candy fudge isn’t just regular fudge dressed up in pretty colors—it’s a throwback to childhood summers, sticky fingers, and laughter. I stumbled on this recipe while searching for creative birthday party ideas, and after a few tweaks, it became my go-to for celebrations and rainy-day pick-me-ups. The pastel swirls are so captivating, I almost didn’t want to cut into the pan the first time. But I did—and wow, the taste was spot-on! Sweet, creamy, and that unmistakable cotton candy flavor.
What’s brilliant about this cotton candy fudge recipe is its simplicity. There’s no fancy candy thermometer, no endless stirring. It’s a “mix and melt” kind of deal, perfect for busy parents, beginner bakers, or anyone who wants a magical treat without the fuss. Plus, it’s a real crowd-pleaser—kids, teens, and yes, adults all love it. I’ve made this for school bake sales, sleepovers, and even as a fun gift for my pastel-loving friend. If you’re chasing a burst of fun and flavor, this is the recipe to bookmark.
Why You’ll Love This Cotton Candy Fudge Recipe
Let’s talk about why this cotton candy fudge is a must-try (and why I keep making it on repeat). After testing this recipe at least eight times—tweaking the flavor balance and trying different color combos—I can honestly say it’s the easiest way to bring a bit of whimsy to your dessert table. Here’s what makes it stand out:
- Quick & Easy: Comes together in under 20 minutes, plus chilling time. Seriously, you don’t need to babysit a pot or stress over temperatures.
- Simple Ingredients: No hard-to-find stuff; just grab marshmallows, white chocolate chips, sweetened condensed milk, and a splash of flavoring.
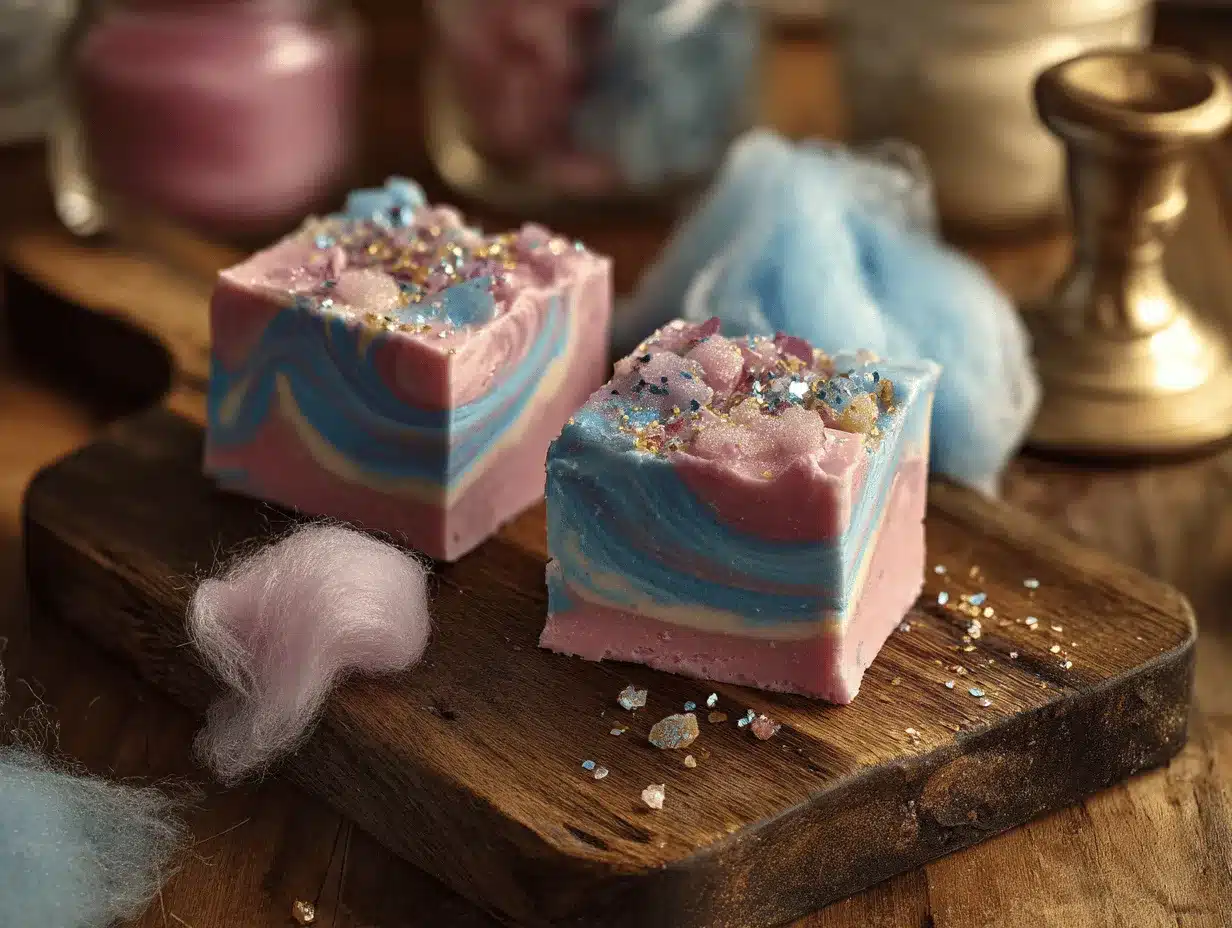
- Perfect for Parties: Those pastel swirls make it Pinterest-worthy for birthdays, baby showers, or any celebration needing a little magic.
- Crowd-Pleaser: Kids lose their minds over this treat—and adults love the nostalgia factor. It disappears fast at gatherings!
- Unbelievably Delicious: Creamy, melt-in-your-mouth fudge with that classic cotton candy flavor. The colors don’t just look good; they add to the fun.
What sets my cotton candy fudge apart? I blend cotton candy flavoring into both layers, then swirl the colors for a dreamy, cloud-like look. You don’t even need food coloring if you use colored candy melts—though a few drops can make it pop if you’re feeling extra. After years of fudge fails (grainy, too stiff, or just meh), this method gives a smooth, silky texture every time. And if you want to impress without spending hours in the kitchen, this is the way to go.
The joy isn’t just in the eating—making this fudge is fun! Whether you’re swirling colors with your kids or experimenting with shapes, it’s impossible to make it look bad. It’s dessert therapy, honestly. If you love recipes that deliver happiness and a little bit of magic, cotton candy fudge is your ticket.
Ingredients Needed for Cotton Candy Fudge
This cotton candy fudge recipe is all about easy-to-find ingredients and a splash of creativity. You probably already have most of these in your pantry, and the rest are just a grocery store run away. Here’s what you’ll need:
- White Chocolate Chips (2 cups / 340g) – For that creamy, melt-in-your-mouth base. I love using Ghirardelli or Nestlé for the best texture.
- Sweetened Condensed Milk (1 can / 14oz / 396g) – Makes the fudge silky and rich. Don’t swap this for evaporated milk; it won’t set right.
- Mini Marshmallows (2 cups / 100g) – Adds fluffiness and helps the fudge set. Regular marshmallows work too—just chop them up.
- Cotton Candy Flavoring (1.5 teaspoons / 7ml) – LorAnn’s is my fave. Gives that spot-on carnival flavor. Start with less if you prefer subtlety.
- Food Coloring (gel or liquid, pastel pink & blue, optional) – For those classic cotton candy swirls. Gel colors work best for vibrant hues without thinning the mixture.
- Butter (2 tablespoons / 28g, unsalted) – Adds richness and keeps the fudge from sticking. You can use salted if that’s all you have—just skip extra salt.
- Salt (pinch, optional) – Balances the sweetness. I sometimes forget this step, but it does make a difference.
Optional add-ins and substitutions:
- Rainbow Sprinkles – For extra whimsy. Stir in or sprinkle on top before chilling.
- Colored Candy Melts – If you want even bolder colors without food dye, swap half the white chocolate for pastel candy melts.
- Vegan/Dairy-Free Option: Use dairy-free white chocolate and condensed coconut milk. Marshmallows are often not vegan, so check labels or use vegan marshmallows.
- Nut-Free: All the listed ingredients are nut-free, but always check packaging if allergies are a concern.
Tip: For the best cotton candy fudge, make sure your white chocolate chips are fresh (old chips can get grainy). If you’re using food coloring, stick to gel for bright pastel colors that won’t mess with the texture.
Equipment Needed
This cotton candy fudge recipe doesn’t require fancy gear—just the basics. Here’s what works best for smooth, gorgeous fudge:
- 8×8-inch Square Baking Pan (or 20x20cm) – Gives the perfect thickness. If you only have a 9×13 pan, your fudge will be thinner—just watch the chill time.
- Parchment Paper or Nonstick Foil – Makes lifting and slicing a breeze. Trust me, you do not want to be scraping fudge out of a pan!
- Medium Saucepan – For melting everything together. Stainless steel or nonstick both work; just keep the heat gentle.
- Heatproof Spatula – Helps with stirring and swirling colors. I’ve ruined a few cheap spatulas with hot fudge, so silicone is best.
- Measuring Cups & Spoons – Precision matters for fudge. Eyeballing is risky here.
- Knives or Toothpicks – For swirling pastel layers. I love using chopsticks for fun, abstract patterns.
If you don’t have parchment, butter the pan really well. For budget-friendly options, dollar store spatulas and pans work—just check for sturdy handles. A well-maintained saucepan makes cleanup so much easier (I always soak mine right after for sticky marshmallow residue). No candy thermometer needed—yay!
Preparation Method
Let’s get swirling! Here’s the step-by-step for irresistible cotton candy fudge. I’ve included both US and metric measurements, plus time estimates and a few troubleshooting tips.
-
Prep your pan:
Line an 8×8-inch (20x20cm) pan with parchment paper or nonstick foil, leaving a little overhang for easy lifting. Lightly butter or spray if you’re worried about sticking. Set aside. -
Melt the base:
In a medium saucepan over low heat, add 2 tablespoons (28g) unsalted butter, 2 cups (340g) white chocolate chips, 1 can (14oz/396g) sweetened condensed milk, and 2 cups (100g) mini marshmallows. Stir constantly, about 5-7 minutes, until everything is smooth and glossy. Don’t rush—high heat can scorch the chocolate. If it looks grainy, lower the heat and keep stirring. -
Add flavor and divide:
Remove from heat. Quickly stir in 1.5 teaspoons (7ml) cotton candy flavoring and a pinch of salt, if using. Divide the mixture evenly into two bowls. (It sets quickly, so move fast!) -
Color your fudge:
Add a few drops of pastel pink food coloring to one bowl, and pastel blue to the other. Use a toothpick or spatula to blend gently—don’t overmix, or the colors will dull. -
Layer and swirl:
Spoon dollops of each color randomly into the prepared pan. Alternate colors for a fun look. Once all the fudge is in, use a clean knife or toothpick to gently swirl the colors together. Don’t overdo it—one or two passes is plenty for a dreamy cloud effect. -
Optional add-ins:
Sprinkle rainbow sprinkles or edible glitter on top if you like. Press gently to help them stick. -
Chill:
Refrigerate uncovered for at least 2 hours, or until firm. For thicker fudge, chill up to 3 hours. If you’re impatient (like me), check at 90 minutes—sometimes it’s ready early. -
Slice and serve:
Lift the fudge out using the parchment overhang. Cut into 25 squares (5 rows by 5 rows) for bite-size pieces. Wipe your knife between cuts for clean edges.
If the fudge seems too soft after chilling, pop it in the freezer for 10 minutes before slicing. If it’s too hard, let it sit at room temperature for 10 minutes. The texture should be creamy, not crumbly. And don’t stress about perfect swirls—it’s meant to look whimsical!
Cooking Tips & Techniques
Making cotton candy fudge should be fun, not stressful. Over the years, I’ve picked up a few tricks (and learned from a couple fudge disasters!).
- Low and Slow: Never melt chocolate over high heat. It scorches fast and gets gritty. Keep the flame low and stir constantly—patience pays off.
- Divide Quickly: Once you add flavoring, the fudge starts setting. Have your bowls ready, and add colors immediately.
- Gel Food Coloring: Liquid colors can thin the fudge and mess with the texture. I once used natural liquid dye and ended up with sticky, runny fudge.
- Swirl Gently: Over-swizzling blends the colors too much. One or two gentle passes make the swirls pop.
- Clean Knife for Slicing: Wipe between each cut for beautiful, sharp fudge squares. Otherwise, the colors can smear.
- Room Temperature: If the fudge is rock hard from the fridge, let it sit at room temp before slicing. It softens perfectly in about 10 minutes.
Timing matters—don’t walk away while the base is melting, or you risk lumpy fudge. Multitasking is possible, but I keep everything pre-measured so I can move fast. Consistency is about gentle heat and quick color work. And if you’re swirling with kids, expect a little mess (worth it for the giggles!).
Variations & Adaptations
Cotton candy fudge is super flexible—here are some fun twists I’ve tried:
- Dietary Adaptation: For dairy-free fudge, use coconut condensed milk and vegan white chocolate chips. Vegan marshmallows are a must (regular ones have gelatin).
- Seasonal Variation: Swap the pastel colors for holiday hues—red and green for Christmas, orange and purple for Halloween. The flavor stays the same, but the vibe changes.
- Flavor Twist: Add a few drops of strawberry or bubblegum flavoring alongside the cotton candy. My kids love the “double carnival” flavor!
- Cooking Method: Microwave version—melt everything in a large microwave-safe bowl in 30-second bursts, stirring well between each. I’ve done this when I was short on time and it works, but the stovetop gives a silkier finish.
- Allergen Substitutions: For gluten sensitivity, all ingredients are naturally gluten-free, but check labels. For nut allergies, avoid sprinkles with nut warnings.
My favorite personal adaptation: I once made this with lavender food coloring and topped it with edible pearls for a unicorn birthday party. It was a hit! Don’t be afraid to experiment with colors, toppings, or even shapes (use cookie cutters for hearts or stars).
Serving & Storage Suggestions
Cotton candy fudge is best served chilled or at cool room temperature. The pastel swirls pop on a white platter, or you can stack pieces in cupcake liners for extra cuteness. Pair with lemonade, fruity punch, or even a scoop of vanilla ice cream for a full-on treat.
For parties, arrange fudge squares in a rainbow pattern. They look gorgeous on dessert tables and make perfect favors in clear treat bags. If you’re feeling fancy, tie with a pastel ribbon!
Storage is easy: Keep fudge in an airtight container in the fridge for up to 1 week. For longer storage, freeze pieces in wax paper for up to 2 months—just thaw in the fridge before serving. Reheat isn’t needed (fudge doesn’t love heat), but if it gets too cold, let it sit out for a few minutes for perfect texture.
Bonus tip: The flavors mellow and blend after a day—so if you can wait, the fudge tastes even better on day two. I rarely have leftovers, but when I do, they’re still delicious!
Nutritional Information & Benefits
A typical serving (one square, about 30g) of cotton candy fudge contains approximately:
- Calories: 110
- Fat: 4g
- Carbohydrates: 16g
- Sugars: 15g
- Protein: 1g
Cotton candy fudge is definitely an indulgence—high in sugar, but small servings go a long way. The recipe is naturally gluten-free and can be made nut-free with careful ingredient selection. For dairy-free diets, use coconut-based substitutes and vegan marshmallows.
From a wellness perspective, I treat this fudge as a celebration treat. It’s perfect for birthdays, holidays, or just when you need a pick-me-up. If you’re watching sugar, portion control is key (they’re rich, so one piece satisfies!). Always check labels for allergens, especially marshmallows and sprinkles.
Conclusion
Cotton candy fudge isn’t just dessert—it’s a bite-sized celebration! The creamy texture, vibrant swirls, and nostalgic flavor make it a favorite in my house. Whether you’re baking with kids or whipping up a batch for a party, this recipe promises smiles and happy taste buds.
Don’t be afraid to play around with colors, flavors, or shapes—make it your own! I keep coming back to this fudge because it’s reliable, fun, and always brings out the inner kid in everyone who tries it. If you make it, I’d love to hear what you think—drop a comment, share your pastel creations, or tell me your favorite flavor twist!
Ready to swirl some magic? Get those ingredients out and give this cotton candy fudge recipe a spin. You won’t regret it—promise!
Frequently Asked Questions
Can I make cotton candy fudge without marshmallows?
You can, but the texture won’t be as fluffy. Try substituting with extra white chocolate chips (about ½ cup more), though the fudge may be firmer.
How do I get vibrant pastel colors in my fudge?
Use gel food coloring—just a drop or two per batch. Liquid colors can dilute the fudge and make it runny.
Can I freeze cotton candy fudge?
Yes, you can freeze it! Wrap pieces in wax paper and store in an airtight container for up to 2 months. Thaw in the fridge before serving.
Is this cotton candy fudge gluten-free?
Yes, all main ingredients are gluten-free. Always check packaging, especially on marshmallows and sprinkles, for any hidden gluten.
What if I can’t find cotton candy flavoring?
Try using bubblegum or strawberry flavoring for a similar fun taste. The fudge will still be delicious and whimsical!
Pin This Recipe!
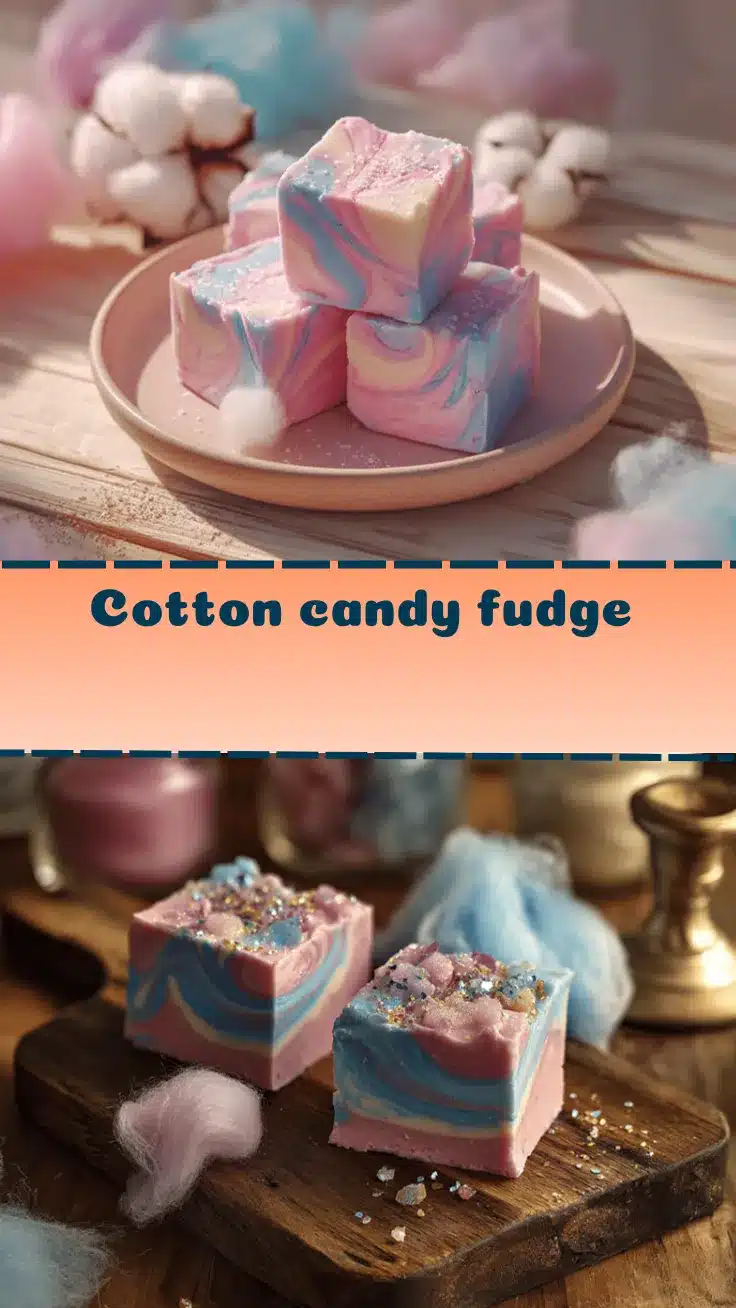
Cotton Candy Fudge
- Total Time: 2 hours 17 minutes
- Yield: 25 squares 1x
Description
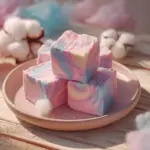
Cotton candy fudge is a whimsical, pastel-colored treat that captures the nostalgic flavor of carnival cotton candy in a creamy, melt-in-your-mouth fudge. Quick and easy to make, it’s perfect for parties, celebrations, or whenever you need a burst of fun and sweetness.
Ingredients
- 2 cups white chocolate chips (340g)
- 1 can sweetened condensed milk (14oz / 396g)
- 2 cups mini marshmallows (100g)
- 1.5 teaspoons cotton candy flavoring (7ml)
- Food coloring (gel or liquid, pastel pink & blue, optional)
- 2 tablespoons unsalted butter (28g)
- Pinch of salt (optional)
- Rainbow sprinkles (optional, for topping)
Instructions
- Line an 8×8-inch pan with parchment paper or nonstick foil, leaving an overhang for easy lifting. Lightly butter or spray if desired.
- In a medium saucepan over low heat, add butter, white chocolate chips, sweetened condensed milk, and mini marshmallows. Stir constantly for 5-7 minutes until smooth and glossy.
- Remove from heat. Stir in cotton candy flavoring and a pinch of salt, if using. Divide the mixture evenly into two bowls.
- Add a few drops of pastel pink food coloring to one bowl and pastel blue to the other. Blend gently.
- Spoon dollops of each color randomly into the prepared pan. Alternate colors for a fun look. Use a clean knife or toothpick to gently swirl the colors together.
- Sprinkle rainbow sprinkles or edible glitter on top if desired. Press gently to help them stick.
- Refrigerate uncovered for at least 2 hours, or until firm. For thicker fudge, chill up to 3 hours.
- Lift the fudge out using the parchment overhang. Cut into 25 squares (5 rows by 5 rows) for bite-size pieces. Wipe your knife between cuts for clean edges.
Notes
Use gel food coloring for vibrant pastel swirls without thinning the fudge. Divide and color quickly, as the mixture sets fast. For dairy-free or vegan options, use coconut condensed milk, vegan white chocolate chips, and vegan marshmallows. Fudge is best served chilled and can be frozen for up to 2 months. Wipe your knife between cuts for clean squares.
- Prep Time: 10 minutes
- Cook Time: 7 minutes
- Category: Dessert
- Cuisine: American
Nutrition
- Serving Size: 1 square (about 30g)
- Calories: 110
- Sugar: 15
- Fat: 4
- Carbohydrates: 16
- Protein: 1
Keywords: cotton candy fudge, pastel fudge, easy fudge, party dessert, carnival treat, kid-friendly, gluten-free fudge, homemade fudge, birthday party, whimsical dessert